SAMSAMPS – a RAMPS variant by Samsam, for Samsam
I'm certainly not the first person to "improve" RAMPS 1.4. The classic 3D printer controller board has been around since 2011, so the internet is littered with RAMPS derivatives, offshoots, specializations, and customizations that promise to benefit you—yes, you! Don't fall for it. If the board wasn't designed by you, it probably wasn't meant for you. There are so many sensors, drivers, hotends, filaments and idiosyncratic configurations thereof that you'll never find another person with the same "platonic ideal RAMPS" as you.
I think that's worth repeating. The Platonic Ideal RAMPS is different for everyone.
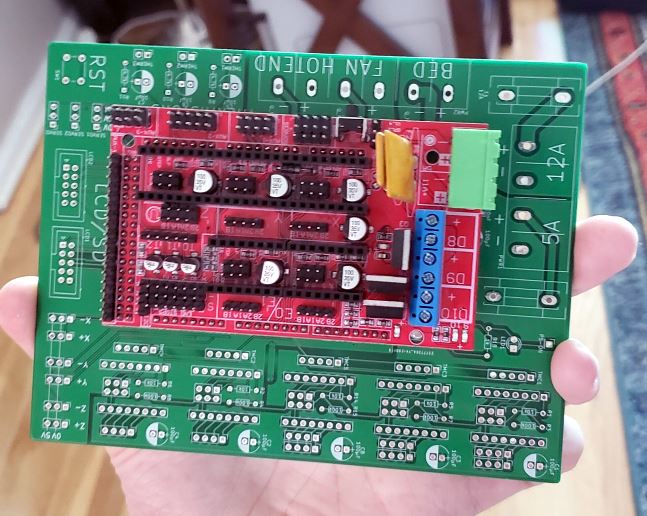
For me, there were a handful of minor nuisances that contributed to me making this board. The cable management is nightmarish (and gets worse with each new sensor or peripheral I add), it's nearly impossible to add 12V peripherals, it struggles mightily with large heated beds, I can't stick any more Arduino shields on top, and there are WAY too many spots where a bent wire or a loose pin can short power and ground, frying the board and setting back days of work. And maybe it's just me, but I can't stand these flimsy little bare-wire screw terminals. Who benefits from these things?
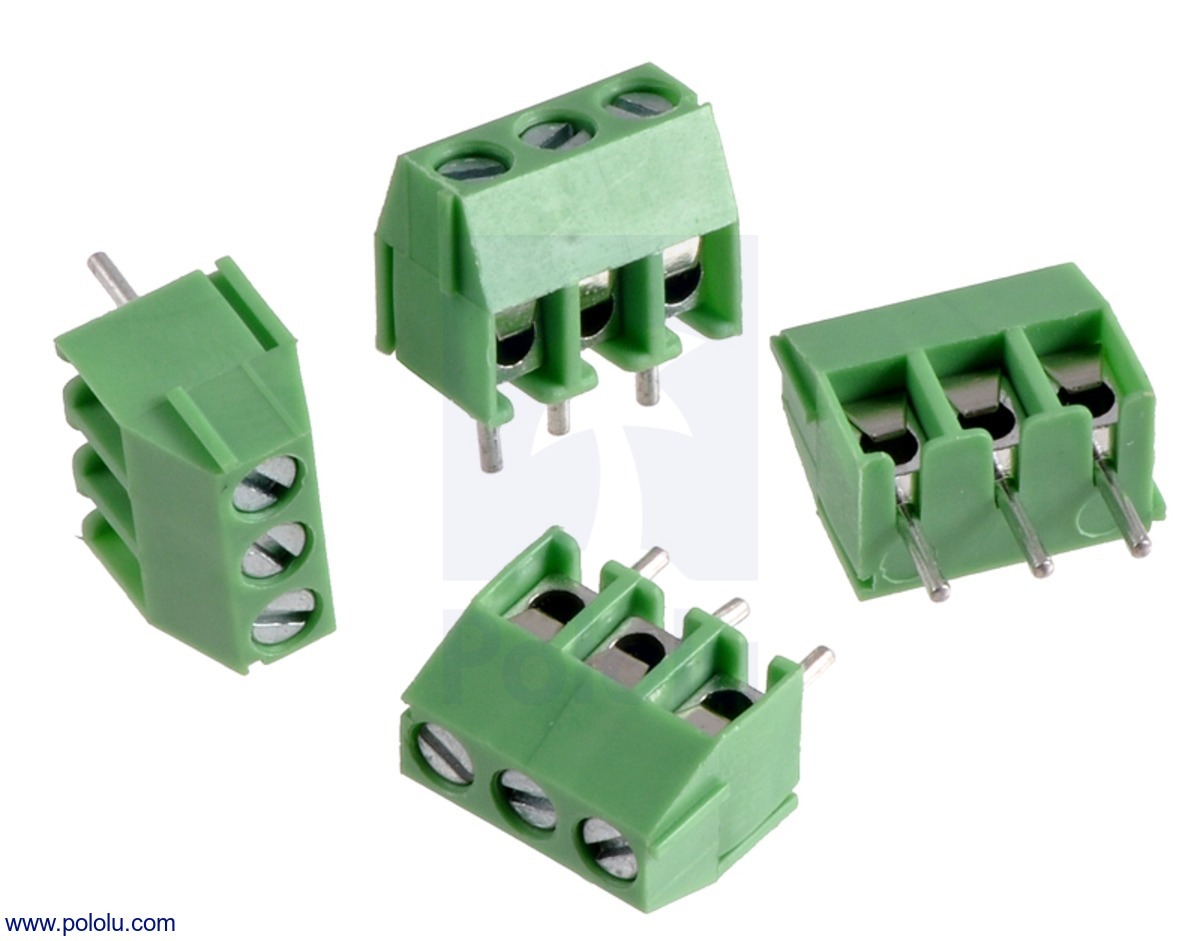
Seriously. I don't want wiggly wires slipping out of these. Image source: Pololu
This brings us to SAMSAMPS. I'm Samsam, and this is my RAMPS variant. You can have one if you want, but I encourage you to change it all up, first.
MAJOR DIFFERENCES BETWEEN RAMPS AND SAMSAMPS:
- An onboard 5V buck converter efficiently powers all my peripherals— and if I blow it up again, it can be swapped out without any soldering.
- Heavy duty terminal blocks replace the wiggly little flimsy connectors that go to the PSU, heated bed, hotend, and fan.
- SPI buses by the stepper motor sockets easily accommodate TMC2130 drivers, as well as conventional drivers.
- Plugs are laid out for ease of access on my desk, rather than for compactness.
- The 5A and 11A thermal fuses were removed in favor of 5A and 12A glass fuses in replaceable holders
- Hefty power MOSFETs with space for heatsinks supply all three power outputs
- No exposed 5V or 12 pins in close proximity to exposed ground pins!
- An expansion slot for a Bluetooth module, as soon as I figure out how to use one

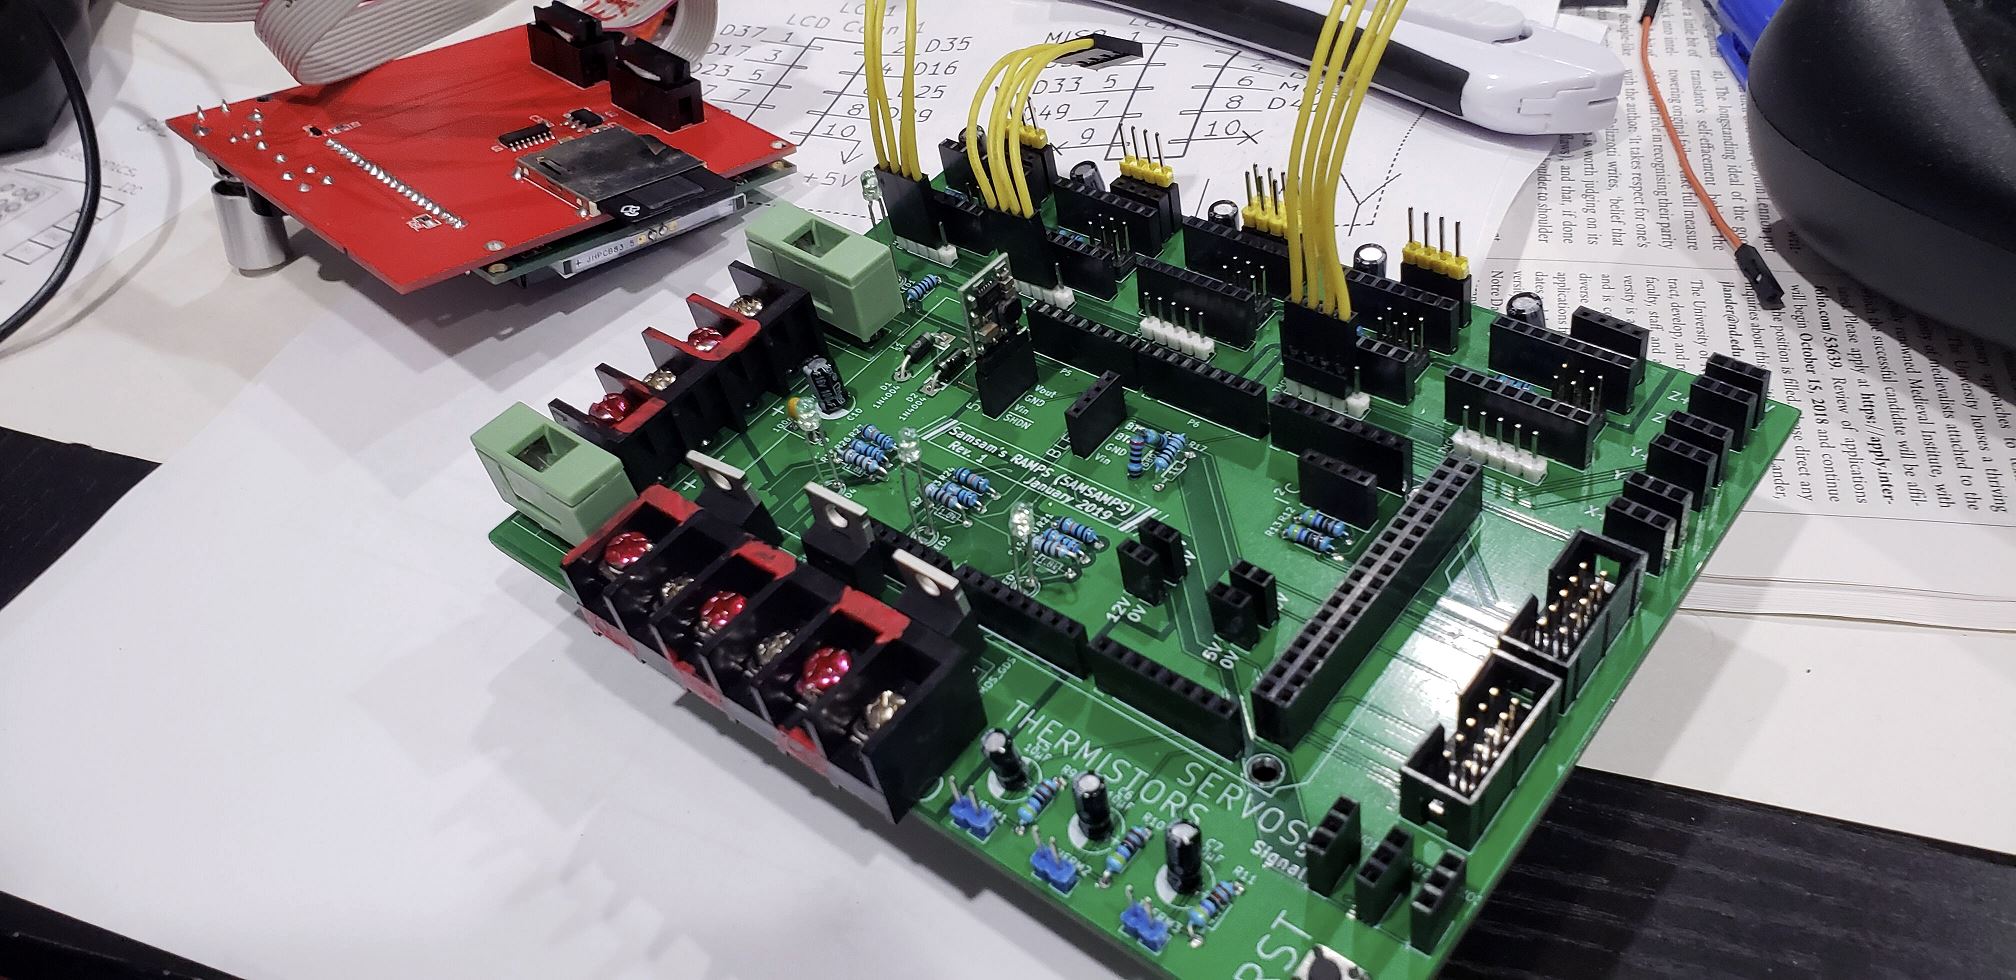
Notice the header sockets—rather than header pins—for the servos, endstops, 5V/12V peripherals, and steppers.
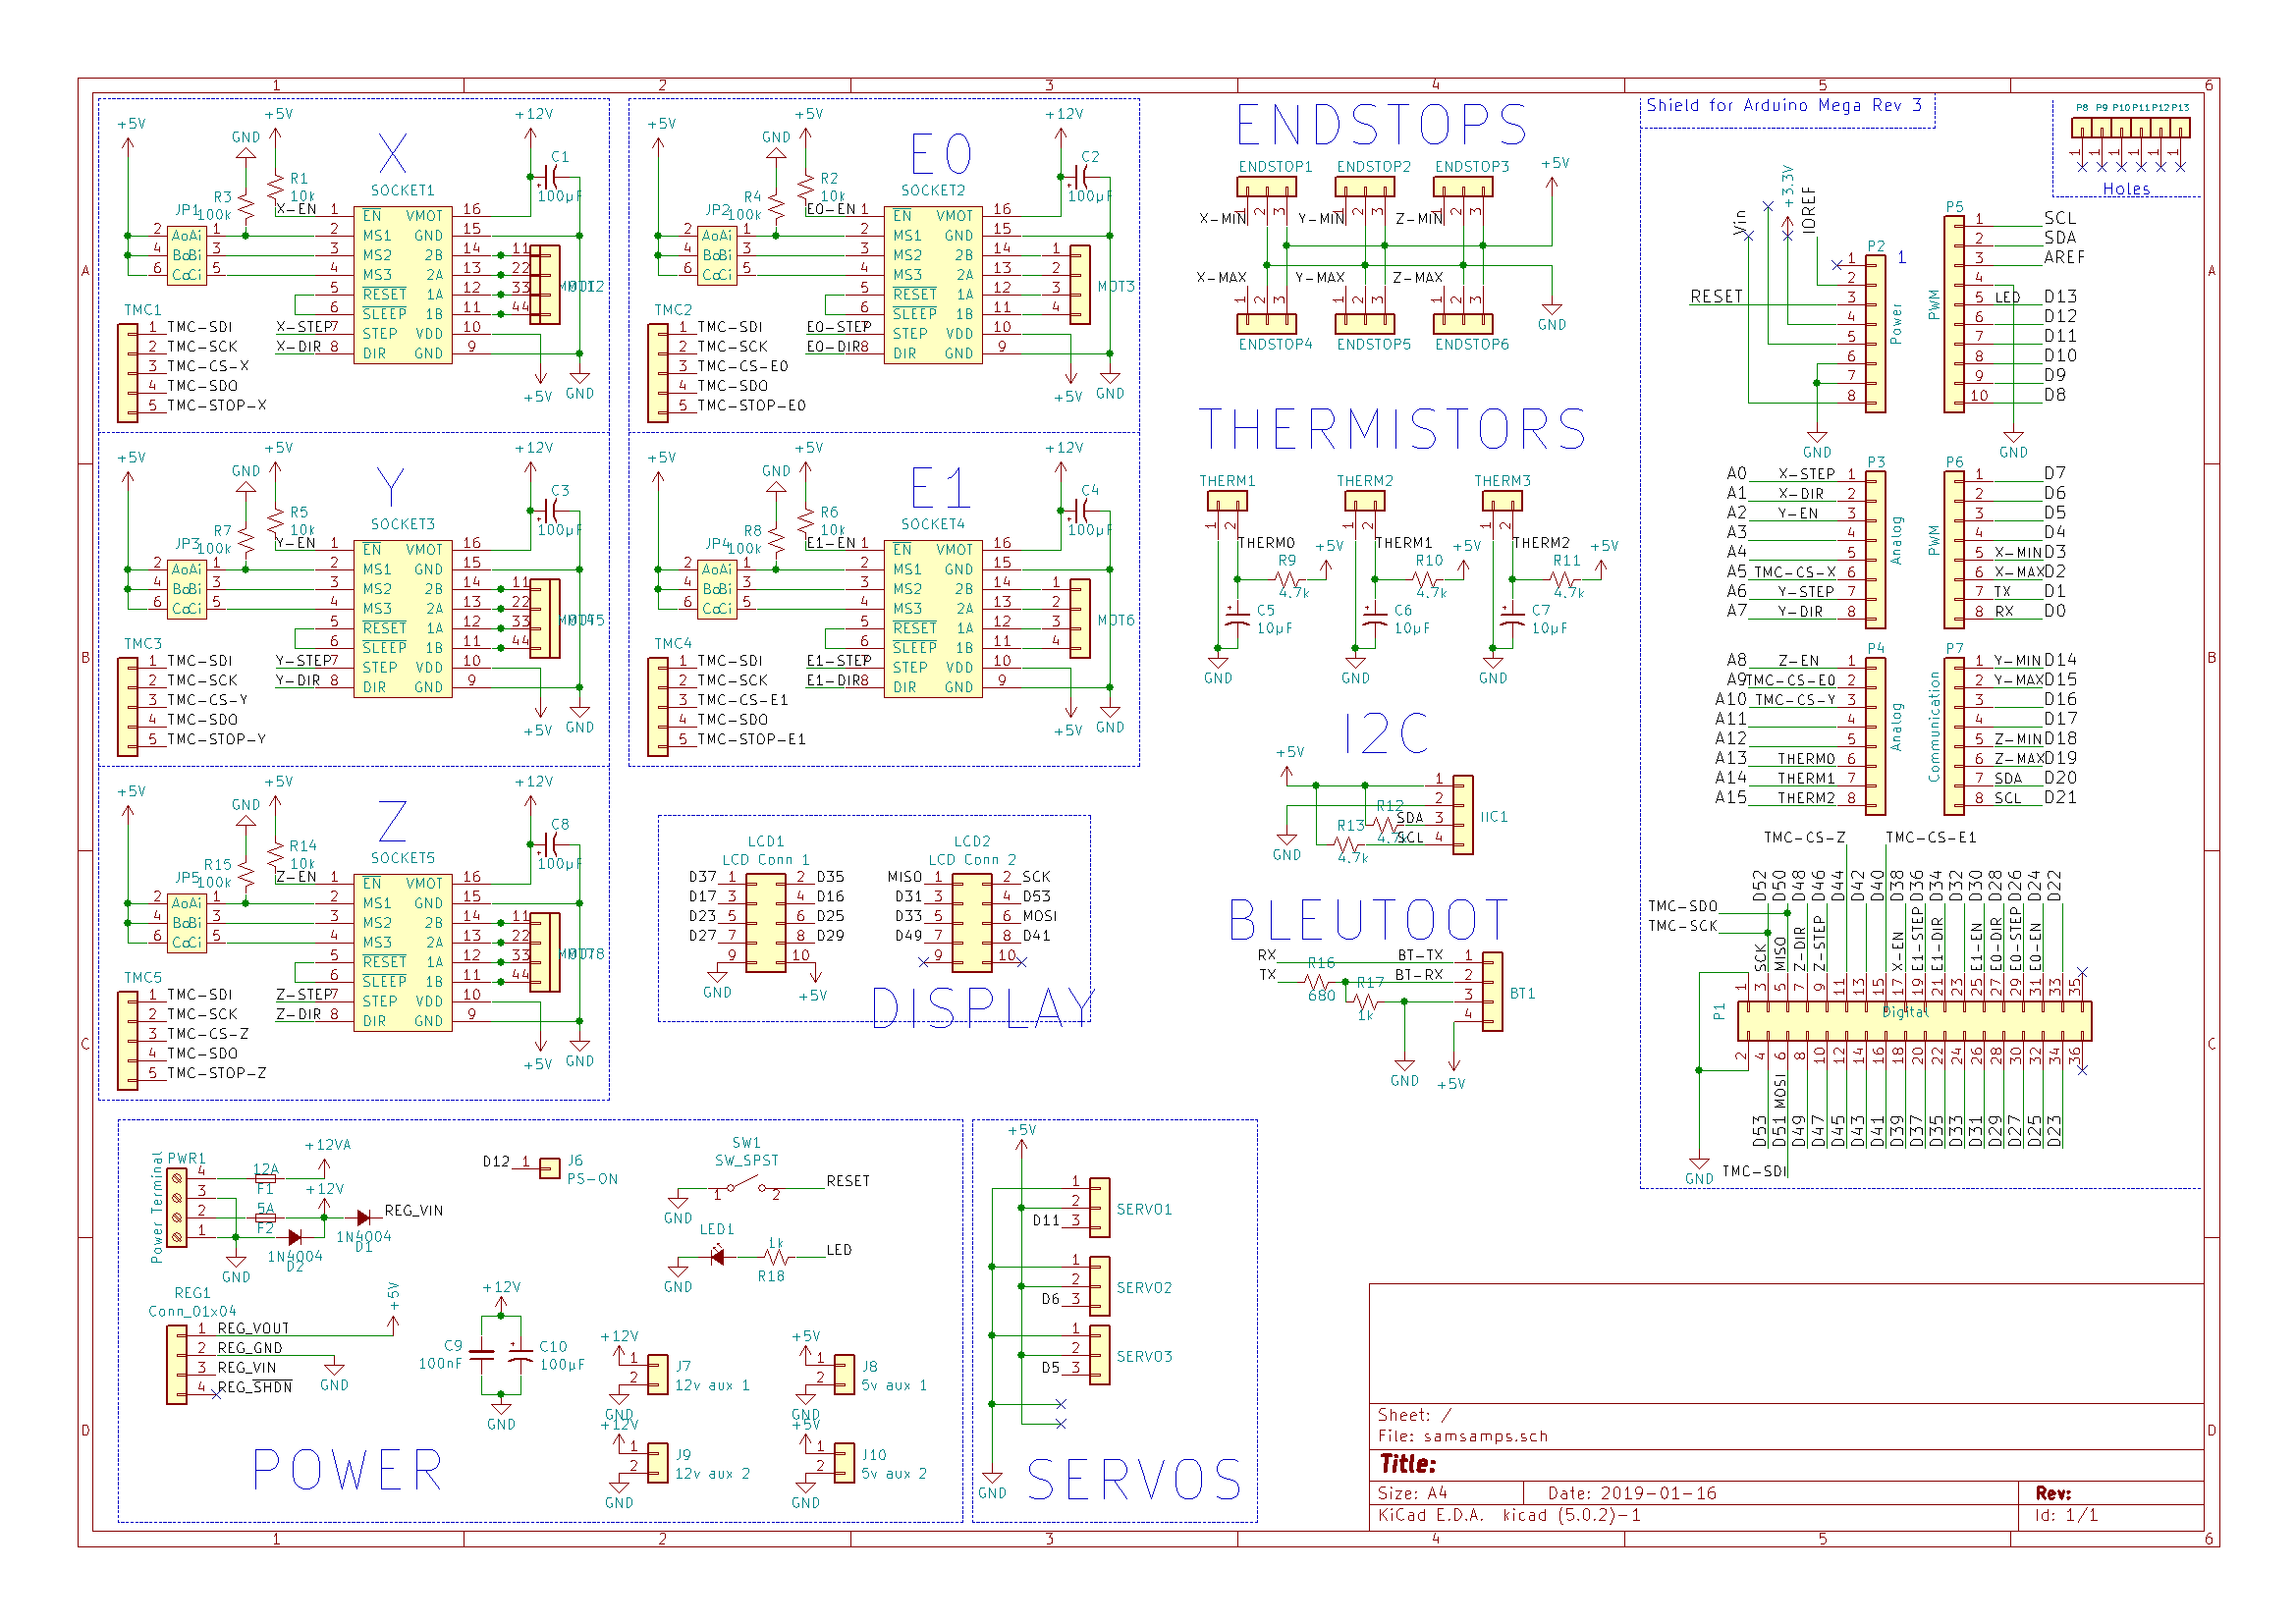
Here's a link to the KiCad project, if you want to mess with it. I've been using SAMSAMPS for a couple weeks already, and I'm soooooo happy with it. Also very relieved that it worked without major revisions. The only differences between Rev. 1 and Rev. 2 are: fixed the 5V net, improved the fuse-holder footprint, rerouted the SPI bus. With a 2-oz copper PCB from JLCPCB and parts sourced from LCSC, the final cost was just around $80 and some lost sleep.
As you can see, the board is much less compact, but a breeze to wire up!